

I decided to use Ghost for writing my blogs for wingedsheep.com. Ghost is an open source CMS designed for blogging. The reason I picked ghost is because it looks very clean, has a really nice editor and is open source. I will take you through the process of setting up a self hosted Ghost blog.
Server
The first step is to get access to a server. I decided to go for a server with Ubuntu 20.04 from Scaleway, since they have cheap servers, and it's easy to create a new server. These are very convenient for experimenting. And moving to a new server if necessary is not a big deal.
Docker
When we have access to the server the first thing to do is to install Docker. Docker allows you to run software in containers. A container contains your code, and all the dependencies that are needed to run this code. This makes containers very portable. They resolve the "Hmm, it runs on my computer, but not on yours"-problem.
To install docker on your Ubuntu server, run the following commands.
- Update the package lists, to make sure you are getting the latest version of Docker.
sudo apt-get update 2. Install Docker.
sudo apt install docker.io 3. Make sure Docker starts when booting the server.
sudo systemctl enable --now docker 4. Add the current user to the Docker user group. This allows you to execute Docker commands without using sudo. You can replace $USER with any user you want to add to the docker group.
sudo usermod -aG docker $USER 5. Switch to the current user to re-evaluate permissions.
su - $USER6. Print the Docker version to see if the installation was successful.
docker --versionIt should return something like
Docker version 19.03.8, build afacb8b7f07. Check if you have access to the docker daemon
docker ps -aShould return an empty list of containers like

Docker Compose
The next step is to install Docker Compose. Docker compose allows you to define multi container applications using a yaml file.
This can be done using the following steps.
- Install Docker Compose.
sudo apt install docker-compose2. Check if Docker Compose is installed correctly.
docker-compose --versionThis should return a version like
docker-compose version 1.25.0, build unknownGhost
Finally we can create the Ghost CMS project.
An easy way to do this is to use the docker-compose files provided by Bitnami.
- Ghost: https://github.com/bitnami/bitnami-docker-ghost
- MariaDB: https://github.com/bitnami/bitnami-docker-mariadb
- Create a project folder
First we create a project folder for our Ghost installation. For this tutorial we create the project in the home folder of the current user.
mkdir ~/ghost 2. Create a docker compose configuration
We go the the project folder we just created and create a docker compose configuration file.
cd ~/ghost
touch docker-compose.ymlWe then copy a modified version of the Bitnami ghost yaml into the docker-compose.yml. It should look like the example below. If you already have a database you can leave out the MariaDB part of the yml.
version: '2'
services:
  mariadb:
    image: 'docker.io/bitnami/mariadb:10.3-debian-10'
    environment:
      - MARIADB_ROOT_USER= # Database user
      - MARIADB_ROOT_PASSWORD= # Database password
      - MARIADB_DATABASE= # Database name
    volumes:
      - ./mariadb_data:/bitnami
  ghost:
    image: 'docker.io/bitnami/ghost:3-debian-10'
    environment:
      - GHOST_HOST= # Blog hostname
      - GHOST_USERNAME= # Ghost username
      - GHOST_PASSWORD= # Ghost password
      - GHOST_EMAIL= # Ghost user email address
      - BLOG_TITLE= # Blog title
      - MARIADB_HOST=mariadb
      - MARIADB_PORT_NUMBER=3306
      - GHOST_DATABASE_USER= # Database user
      - GHOST_DATABASE_NAME= # Database name
      - GHOST_DATABASE_PASSWORD= # Database password
    ports:
      - '80:2368'
    volumes:
      - ./ghost_data:/bitnami
    depends_on:
      - mariadb
This creates two containers:
- A MariaDB database that will store the data for Ghost.
- Data is persisted in ./mariadb_data
- The Ghost CMS application.
- Data is persisted in ./ghost_data
To be able to persist the data we need to create the paths.
mkdir ~/ghost/mariadb_data
mkdir ~/ghost/ghost_data
Then we need to fill in all the settings in docker-compose.yml
For MariaDB:
- MARIADB_ROOT_USER: Root user of the MariaDB database.
- MARIADB_ROOT_PASSWORD: Password for the root user.
- MARIADB_DATABASE: Name of the database.
The root user and database are created the first time the application is started.
For Ghost:
- GHOST_HOST: The host of your blog. For this blog it is www.wingedsheep.com
- GHOST_USERNAME: The name of the admin user of Ghost.
- GHOST_PASSWORD: The password of the admin user of Ghost.
- GHOST_EMAIL: The email address of the admin user of Ghost. You use this email address to login to the admin panel.
- BLOG_TITLE: The title of your blog. You can change this later.
- GHOST_DATABASE_USER: Same as MARIADB_ROOT_USER
- GHOST_DATABASE_NAME: Same as MARIADB_DATABASE
- GHOST_DATABASE_PASSWORD: Same as MARIADB_ROOT_PASSWORD
The admin user and the blog are initialized when the application is first started.
3. Start Ghost
Start the docker-compose application from the ~/ghost project folder to start the application. The -d argument is given so that the application starts in the background.
docker-compose up -dCheck if Ghost started successfully
After a few minutes have passed we can check if everything started as it should. When entering "docker ps -a" we should see the two containers running.

If there are any problems you can use the following command with the container_id to find out what the problem could be:
docker logs f83548518e4d # Replace with your own container_idWriting your first blogpost
When you go to your server's ip address or hostname you should see this nice looking blog page waiting for you!

You can login to the admin panel by going to http://[ your hostname ]/ghost.
There you should see a login window where you can enter the credentials from your application.yml
The username should be GHOST_EMAIL and the password should be GHOST_PASSWORD.
After entering your credentials you are in the admin panel. Here you can control everything: How your blog looks, the posts you want to get out there, the users that are allowed to write for your blog, and a lot more.
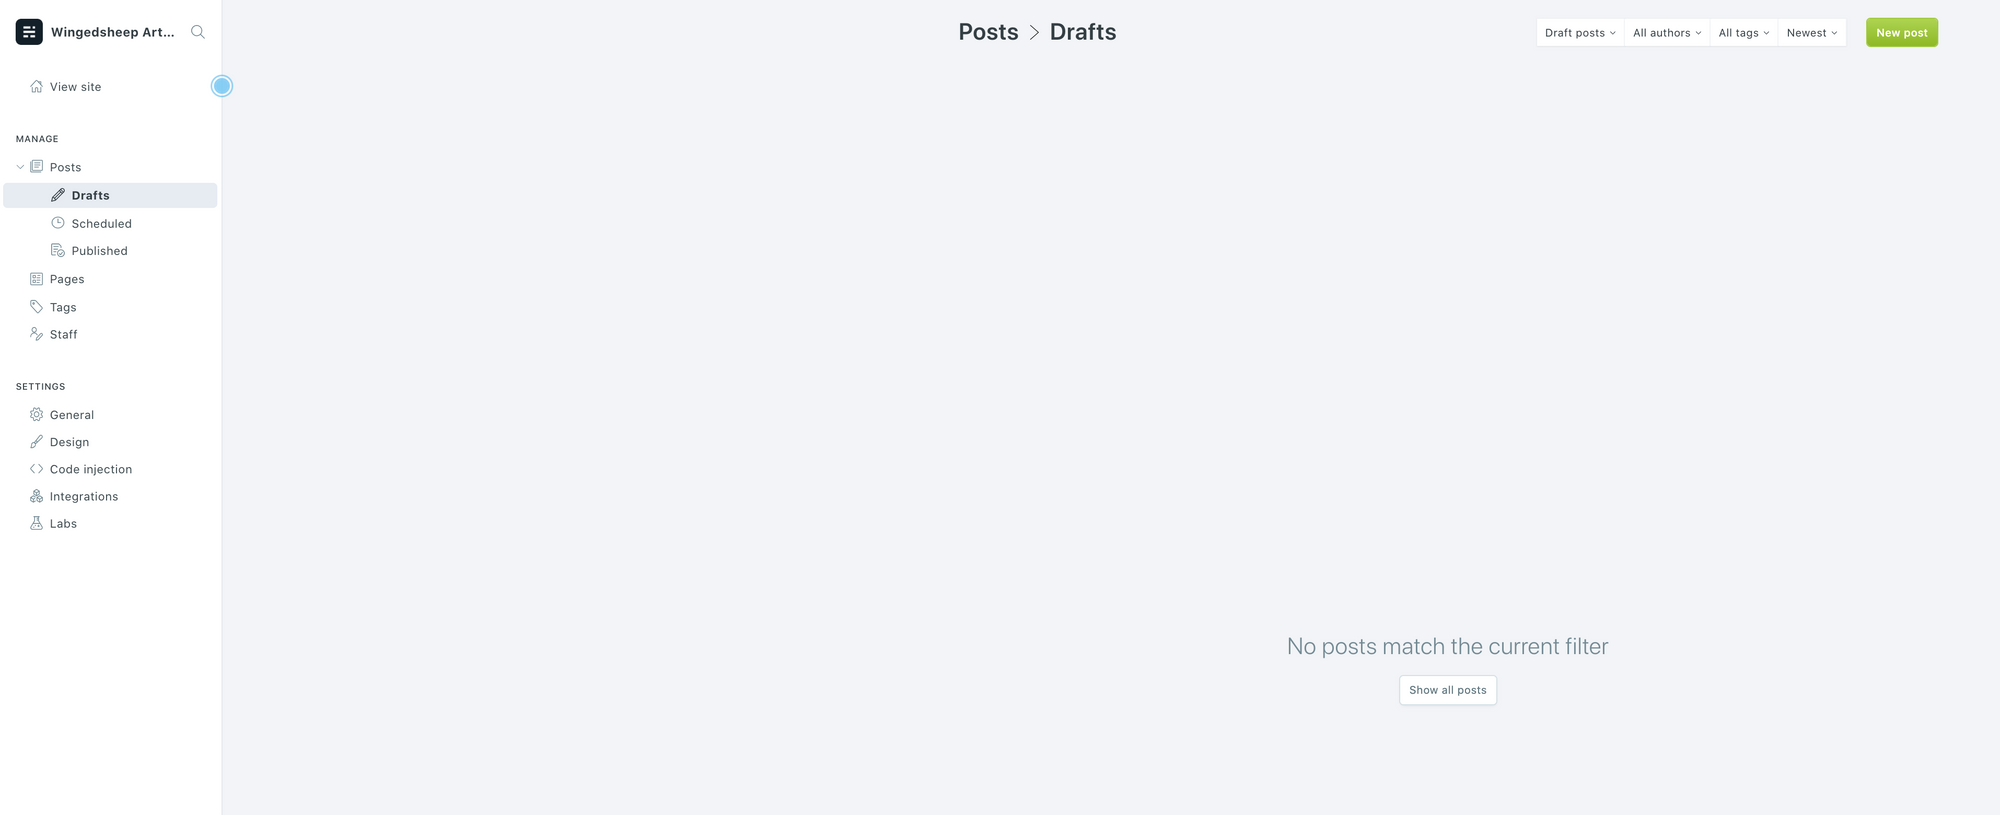
If you want to get rid of the welcome messages you can delete the example user Ghost created for you. Then you can start writing your first post under "drafts".
Code blocks
Because I write a lot about code, I wanted to have nice looking code blocks in my blog. To do this I added Prism using the code injection option:
You can add code injections per post or for your whole blog. To add nice looking code blocks go to the "Code injection" tab in your admin panel.
First add one of the prism themes to your "Site Header":
<link href="https://cdnjs.cloudflare.com/ajax/libs/prism/1.20.0/themes/prism.min.css" rel="stylesheet" />Instead of prism.min.css, you can pick one of the following themes:
- prism-coy.min.css
- prism-dark.min.css
- prism-funky.min.css
- prism-okaidia.min.css
- prism-solarizedlight.min.css
- prism-tomorrow.min.css
- prism-twilight.min.css
Then add this to your "Site Footer":
<script src="https://cdnjs.cloudflare.com/ajax/libs/prism/1.20.0/prism.min.js"></script>
<script src="https://cdnjs.cloudflare.com/ajax/libs/prism/1.20.0/plugins/autoloader/prism-autoloader.min.js"></script>
Afterwards you can write nice looking code blocks. When you start a line with ``` in your editor it will automatically create a new code block. In the top right of this block you can enter the language, and Prism will do it's magic. Your code blocks will look like this:
public class HelloWorld {

    public static void main(String[] args) {
    	System.out.println("Hello world!");
    }

}
Upgrading ghost
To upgrade ghost to a newer version you can create a script. Let's call it upgrade.sh, with the following content:
#!/bin/sh
docker pull bitnami/ghost:latest
docker-compose stop ghost
rsync -a ./ghost_data ./backup/ghost-persistence.bkp.$(date +%Y%m%d-%H.%M.%S)
rsync -a ./mariadb_data ./backup/mariadb-persistence.bkp.$(date +%Y%m%d-%H.%M.%S)
docker-compose rm ghost
docker-compose up -d ghostThis script pulls the latest version of the Bitnami ghost image and stops the running ghost container. After the container is stopped it backups all the data into a backup folder, in case the upgrade fails. The mariadb data is also backed up. After the backup the ghost container is removed and recreated. Your ghost version is up-to-date again!
Changing the Ghost configuration
If you are already running the Ghost blog, and want to update the configuration later you can't just change the docker-compose.yml, since the configuration is persisted in the ghost_data directory.
You can edit the configuration by using any text editor and opening ./ghost_data/ghost/config.production.json. This will give you a file that looks like this:
{
  "database": {
    "client": "mysql",
    "connection": {
      "host": "mariadb",
      "port": 3306,
      "password": "GHOST_DATABASE_PASSWORD",
      "user": "GHOST_DATABASE_USER",
      "database": "GHOST_DATABASE_NAME"
    }
  },
  "url": "http://verycoolblog.com",
  "server": {
    "port": 2368,
    "host": "0.0.0.0"
  },
  "mail": {
    "from": "\"'Thomas A. Anderson' <mranderson@gmail.com>\"",
    "transport": "SMTP",
    "options": {
      "host": "smtp.gmail.com",
      "port": "465",
      "service": "GMail",
      "auth": {
        "user": "mranderson@gmail.com",
        "pass": "MY GMAIL PASSWORD"
      }
    }
  },
  "logging": {
    "transports": [
      "file"
    ]
  },
  "process": "local",
  "paths": {
    "contentPath": "/opt/bitnami/ghost/content"
  }
}
Editing this file and then restarting your ghost container will update the configuration. Remember to also adjust the docker-compose.yml file to reflect these changes, in case you want to do a complete reinstallation in the future.
Now it's up to you to start your own blog. Good luck, and have fun!